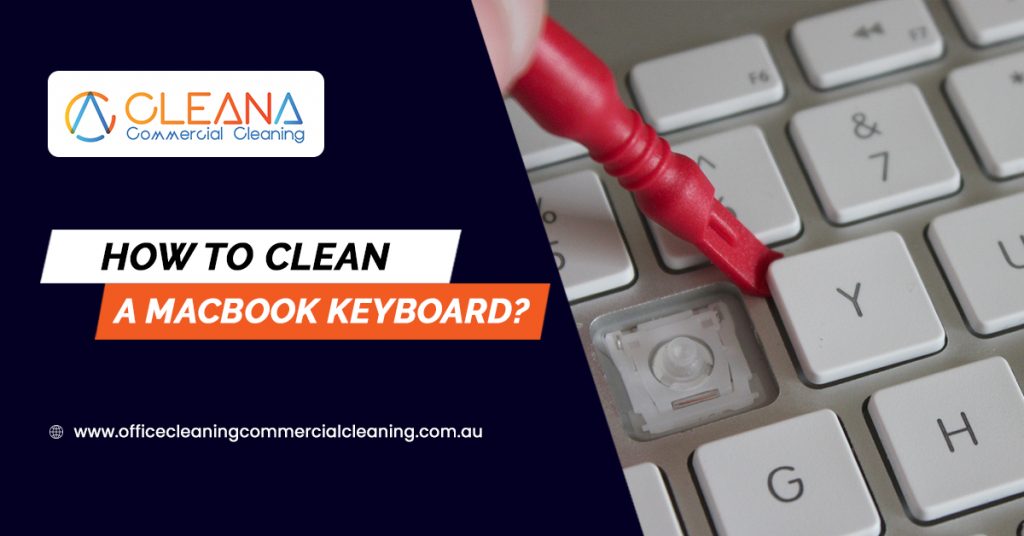
Your keyboard harbours more germs than you could possibly imagine and even if you’re not a particularly keen spring cleaner, And Don’t want to hire a commercial cleaner to clean your Keyboard the chances are that your PC or laptop is crying out to be cleaned. Are the keys greasy as you run your fingers over them?
Are there specks of food caught in between the keys? If the answer to these questions is yes, then you undoubtedly need to give your keyboard a thorough clean.
Fortunately, your keys will be shining impeccably again with only a minimal amount of effort. In under an hour, your laptop’s keyboard will be ready for a further layer of food to be seasoned all over it!
However, avoiding dirtying your keyboard in the first place is the best way to ensure that it is kept clean. Therefore, you should try to avoid eating over your keyboard to prevent any crumbs from falling in between your keys.
Keeping drinks away from your laptop also reduces the chances of spillages that can flood your device entirely. Keeping your laptop closed when it is not in use is also the perfect way to minimize any build-up of dirt and dust that will corrupt your keys.
If you have built up crumbs in your keyboard then you should tap these loose but be careful to avoid shaking your laptop too much. You can remove crumbs and other forms of debris by gently turning your laptop upside-down and tapping it.
If you shake your laptop too hard then this may cause permanent damage to your computer’s hardware and this is often irreparable.
If you are looking to remove your crumbs in a less risky fashion, then you should use the sticky end of a post-it note between your keys in order to remove any crumbs that may have become lodged.
Another way to remove crumbs and debris from your keyboard is to use canned air or dust removal spray. These are available for purchase at most office supply outlets.

These can be used to remove any dust that congregates in between your keys as they utilize a micro-straw dispenser that enables you to easily blow any debris away from your keys.
You should try to remember to keep the air canister under a 40-degree angle and aim it downwards towards the keyboard or you’ll end up discharging unwanted refrigerant onto your keyboard.
If you have tried the above methods and are still unable to remove all of the dust and debris from one part of your keyboard then you should use a hand vac that comes with a narrow dust-removing attachment.
Gently aiming this at your keys will ensure that you suck up any additional undesirable debris and if you are using an independent keyboard, you should ensure that none of your keys is loosely fitted or you could hoover them up completely!
To achieve the best results, purchase a USB vacuum that can plug straight into a USB port as these usually come with a thin keyboard cleaning attachment.
For grime that has been thoroughly caked onto your keyboard, you should purchase some screen wipes and apply them gently to any gunk that has accumulated. You should be careful not to overdo it as you may ask peeling away the character from your keys.
You can also utilize a topical cleaner and spray it onto a soft cloth before gently wiping your keys. You should definitely avoid spraying the cleaner directly onto the keyboard itself as this can cause lasting damage.
Using a cotton swab is an equally effective way of cleaning your keyboard and these can be lightly dipped in a cleaner. Wipe the swab across your keyboard in a careful manner in order to remove any excess debris.
This method is arguably one of the best on the list as it ensures that you are only using an appropriate amount of cleaner in order to achieve an effective result.
You’ll want to ensure that you clean your keyboard every 1-3 months in order to avoid the excessive build-up of debris.
You should also remember to clean every key and of course, consult your owner’s manual in order to note any specific cleaning instructions for your keyboard.
Do Not Do This
Do not remove the keys from the keyboard in order to wash them independently by hand as the vast majority of keyboards do not have keys that are designed to be removed.
You should also avoid putting a stand-alone keyboard in any form of the dishwasher. Whilst some technicians may recommend this method, your keyboard might not survive the dishwashing experience and this is a costly risk to take.
You should never dry a wet keyboard in any form of the clothes dryer or in an oven, this should be an obvious thing to avoid but if you are impatient, you may resort to methods that you would otherwise have avoided in order to dry your keyboard quicker.
You should avoid using steel wool or any cleaning sponges that contain calcium removers as this is likely to remove the letters on your keyboard entirely.
To conclude, you should always remember to turn your computer off prior to attempting to clean your keyboard. Today’s computers are prone to pressure damage and anything that is moisture-induced tends to cost a lot of money to rectify.
Caution is the best way to approach the cleaning process and using something succinct and simple, like a cotton swab with a light amount of cleaning fluid, is the best way to ensure that you are removing any unwanted dust or debris from your keyboard without damaging it entirely.


