A lot of people see tile floors as one of the easiest ways to keep a room clean, as it allows you to easily mop and wipe grime and dirt away.
However, while tile surfaces can be convenient for mopping, keeping them sparkling clean actually takes quite a lot of effort and technique in order to ensure you preserve them for the long term.
While tile floors may be easier to give a quick wipe clean, making sure they’re fully cleaned has a few extra steps, and in this guide, we, CLEANA commercial cleaning services company are going to look at how to mop a tile floor properly to ensure you get the floor looking as good as new.
But first, let’s take a look at what you actually need to ensure you can clean the floor properly.
What You Need?
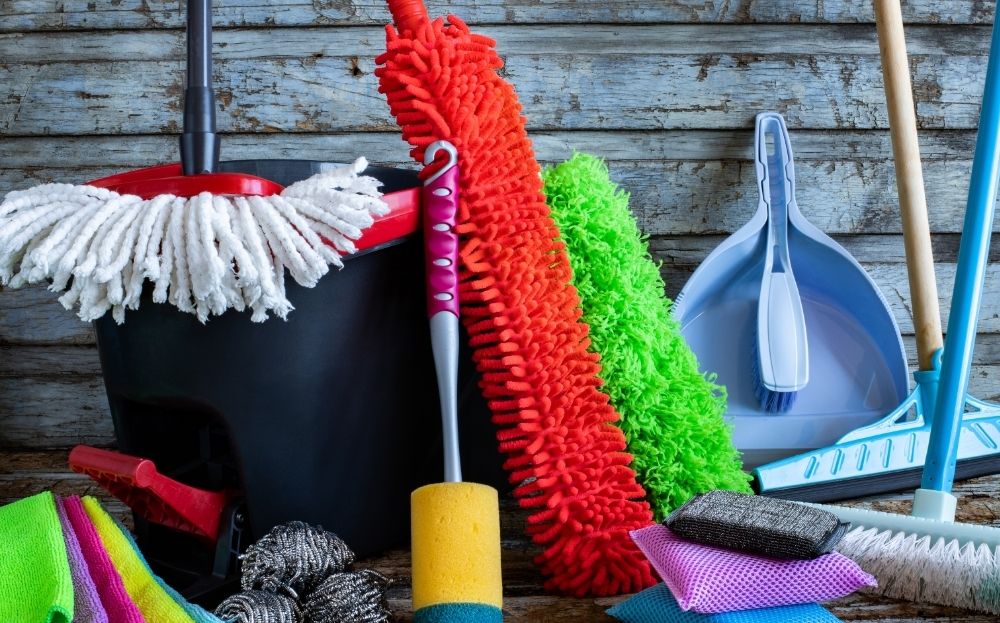
- A broom, dustpan, brush, or vacuum
- A rag, mop, or chamois mop/brush
- A bucket
- Dry cloth
- All-purpose cleaner or dish soap
- Warm water
Instructions
In this section, we’re going to look at how you actually mop the floor in order to get the best finish on it possible.
1. Wipe Or Vacuum The Floor
When it comes to mopping, a lot of people are tempted to simply start mopping straight away, however, this is a mistake that can often make the cleaning process more difficult and provides worse results than taking this first step.
Before getting the floor wet, you will want to wipe or vacuum the floor to ensure that loose debris, dust, and grime are taken out of the picture entirely.
Not doing this will result in your mopping simply moving around existing dirt instead of actually cleaning the floor, and skipping this step will make the entire process much more difficult than needed.
Take your vacuum, dustpan, and brush or broom and wipe the area you want to mop thoroughly, gathering up as much loose dirt as possible.
Once you’ve gathered as much of this dirt as possible, deposit it into a bin so that it can’t spread around again once you start mopping.
2. Mix Up Your Cleaning Solution
Get your bucket and fill it with warm water, adding your soap or cleaning solution of choice to the correct concentration for a safe but effective clean.
You don’t need to use too much water for this, and just filling the lower portion of a bucket is enough for most medium-sized kitchen spaces or areas.
Allow suds to form and for the solution to mix well, then dip in your rag or mop into the solution allowing them to fully soak.
Then squeeze the mop or cloth off so that the rag is only damp, before using it. Getting too much water on your floor can actually cause damage to the floor in the long term, and can also lead to streaks or marks that result in a less fine finish to the cleaning process.
3. Start Mopping!

From here, you can start the actual process of mopping the floor.
Use even strokes and don’t put down too much pressure as you risk damaging the mop, as well as squeezing the water out of the mop and making a mess.
Work your way around the room in a careful manner, ensuring that you don’t miss a spot. Ideally, you want to work so that you mop your way towards an exit to allow the floor to air dry for a few minutes without needing to step on it as it does so.
Walking over a freshly mopped floor can track mud, grime, and dust all over your freshly mopped floor, undoing all your good work and leaving marks or prints on the surface.
4. Change The Water
If you’re mopping a larger area, don’t be afraid to change your water if it has become too dirty. This is particularly important in more grimy areas in workplaces or heavily used areas.
Using dirty water only creates more mess, so it’s best to just a small amount of water and change it regularly instead of using a large amount trying to use that same water for the whole job.
5. Clean The Grouting
Grouting is the unfortunate side effect of having tiles, and one of the main areas where grime and dirt can hide from your mop.
Grouting the seam between tiles and it’s really easy for dirt to become ingrained here, which makes it even more important for you to focus these areas after you’ve mopped so that you don’t drag more dirt into them afterwards.
Take a smaller cloth or chamois and soak it in the cleaning solution, then use it to work your way along the grouting to scrub them clean.
Not doing this regularly can actually lead to the grouting becoming compromised by mold, so staying on top of this is a must.
6. Drying
Allowing your floor to air dry is best, but some floors may be prone to pooling or water spots, and in these instances, you may need to dry them manually.
In this case, take a dry cloth or kitchen towel and use large even strokes to wipe the area clean and absorb the water before it has a chance to build up.
7. Stains
If you’re dealing with stains in your grouting or, more rarely, the tiles themselves, consider trying a solution of baking soda and water as this can often remove stains very quickly and easily without fuss.
8. Admire Your Handiwork!
Mopping isn’t always pleasant, especially in larger areas. Still, the results of your handiwork will massively improve the cleanliness and appearance of your space, making it a much more hygienic and pleasant place to be.
Final Thoughts
As you can see, while many people think of mopping as the easiest way to clean a floor, there is a lot of work that goes into keeping tiles clean, and mopping requires a lot of effort to be done right to achieve the best results.

While it may not be necessary to follow all of these steps every time you mop, doing a full deep clean of the tiles and grouting at least once a month is the best way to stave off wear and tear and keep your kitchen looking its best for longer.