Tile is the perfect material for rooms in your home like kitchens and bathrooms. Basically, anywhere there’s a good chance of liquids being spilled on the floor is a great place for tiles.
This is because they’re super easy to clean minor spills and stains off of. Most of the time, it’s a simple case of sweeping up some food crumbs or wiping a spilled drink with some kitchen towels.
However, after many years of living on the same tile floor, you might notice some long-term dirt and discoloration building up that can’t be fixed by your regular routine cleaning.
This is when you’ll have to come in with the big guns and do a thorough deep clean.
In this article, we’ll be going over the step-by-step process for deep cleaning your tile floors and telling you everything you need to bear in mind while carrying out the process.
Make sure you read this whole article before you start home or office cleaning.
Sweep And Vacuum
This first step is to sweep and vacuum the entirety of your tile floor. This will remove all of the loose crumbs, dirt, and other debris that will get in the way of all the other cleaning products later on.
You’ll want to start by sweeping, using a large broom to get all of the dust and debris into one part of the floor, and using a dustpan and brush to get into the corners and to transfer it all to the trash.
Then, even if you can’t see any dirt on the floor, it’s still a good idea to go over it all with a vacuum cleaner. If you’ve already swept the floor, this doesn’t have to be a particularly thorough vacuum clean, just enough to get rid of any dirt you can’t see.
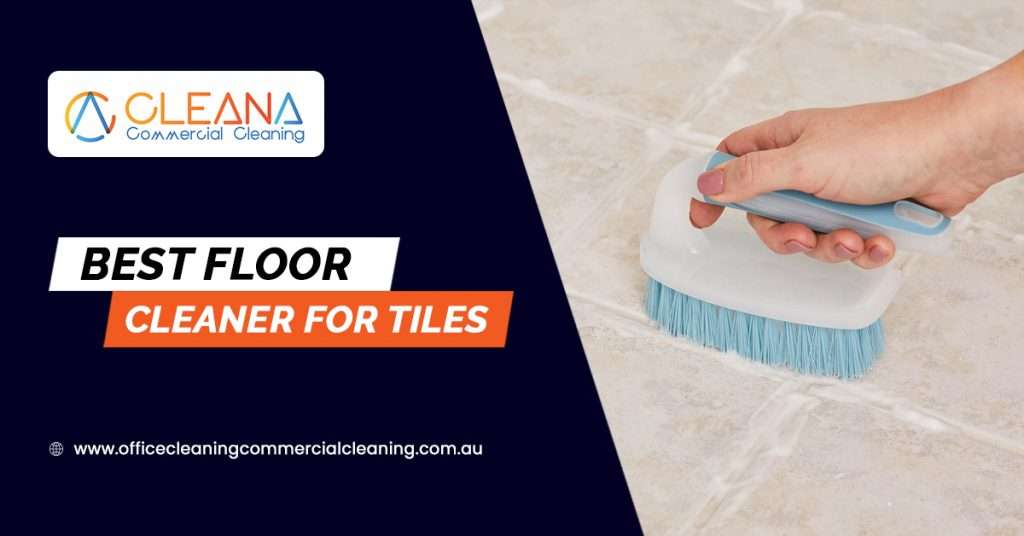
Select The Right Cleaning Solution For Your Type Of Tile Floor
Believe it or not, the different materials that are used to make tile floors will affect the kind of cleaning solution you should use.
There are some good multi-purpose cleaners out there that you can find at pretty much any grocery store and will work on all the common types of tile.
Still, it’s a good idea to check what material your floor is made of before going in with the chemicals.
For materials like unglazed ceramic, porcelain, and glass, you can feel free to use any kind of all-purpose cleaner but it won’t always be necessary.
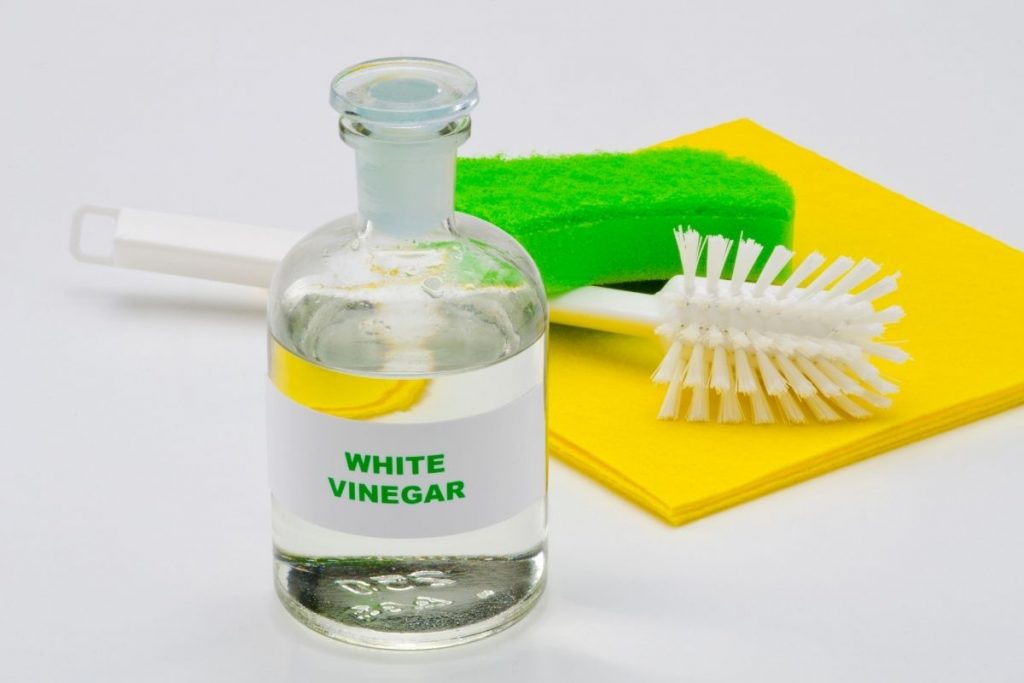
These tiles can be cleaned very well using a solution of vinegar and hot water. Because of the acidity of the vinegar, it can do a great job of breaking down the minerals you get in water stains and things you might often find on tile floors.
You can use any white vinegar that you might have laying around in your kitchen cupboards but avoid any colored vinegar-like malt as this could end up creating an entirely new stain.
It’s also worth noting that some places will even sell special cleaning vinegar which will never leave a stain.
If your tile floor is made with slate, glazed ceramic, limestone, granite, or marble, you should definitely avoid using any acidic cleaning products like a vinegar solution.
The vinegar will likely end up discoloring your tiles even more than they already were and could end up weakening their overall structural integrity.
Instead, you’re better off using a solution of mild detergent and warm water for these tiles.
In fact, you’ll often be able to find chemicals at your local grocery store that are specifically designed for each of these materials. If you can find one that’s specific for your type of tile, you should always go for this over any all-purpose cleaner.
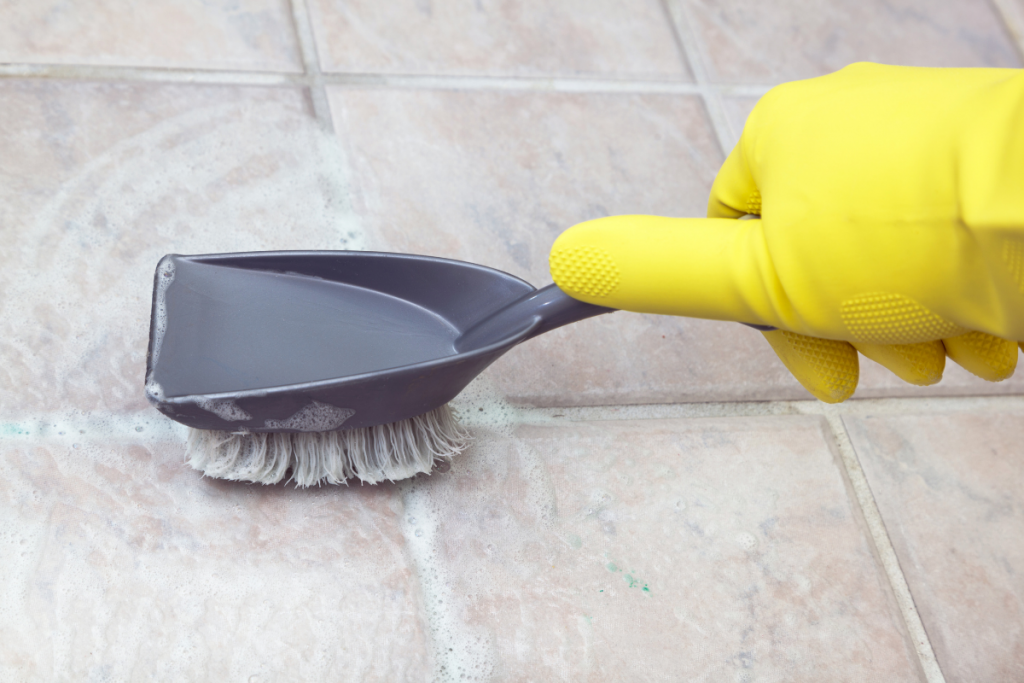
Clean The Grout Lines
The grout lines between your tiles will attract more dirt than you could ever imagine- or that you can even see with the naked eye.
Trust us when we say you’ll notice a huge difference in the way your tile floor looks when you’ve just cleaned out these grout lines.
Start by going over each grout line with some hot water and a small brush or toothbrush. It will be painstaking work but it’s important to be able to get into the smallest gaps where dirt might be hidden.
Next, go in with the appropriate cleaning solution for your type of tile. As we outlined before, some materials will not react well with a vinegar cleaning solution so you should use the appropriate detergent for these tiles.
Again, you’ll need to use a toothbrush or other small cleaning tool to get into every corner of the grout lines thoroughly.
If your grout lines are still not looking fresh after this, you can go in with some hydrogen peroxide or oxygen bleach to really tackle the grime.
You can mix hydrogen peroxide with baking soda and oxygen bleach with warm water for the best cleaning results.
Going Over The Floor
For this step, you should always begin by tackling any really tough stains on your floor.
There might be a concentrated area of the floor that often gets overlooked by regular cleaning that might have built up a nasty stain. Go after this part of the floor with a brush and the appropriate cleaning solution.
Then, get out your bucket and mop and go to town on the whole floor. Again, you should be using the appropriate cleaning solution for your type of tile for this step.
If possible, try not to use a sponge mop as these are known to absorb dirt and spread it around the floor, rather than cleaning it effectively.
Dry The Floor
The final step in the process is to completely dry your tile floor. It’s best to avoid leaving the floor to air dry as this can encourage water spots and stains to form.
This step really is as simple as using a dry cloth or towel to wipe up all the liquid left on your floor and admire how much cleaner it looks!
Conclusion
If you’ve carried out all of these steps and your tile floor still looks slightly worse for wear, there’s nothing wrong with repeating the process as many times as you need to get it in good condition.
Ultimately, this isn’t the sort of thing you need to be doing every week or even every month. A regular sweep and mop once a month will keep your tile floors generally clean and carrying out a deep clean once every 2 or 3 months will keep it looking fresh and bright all year round.